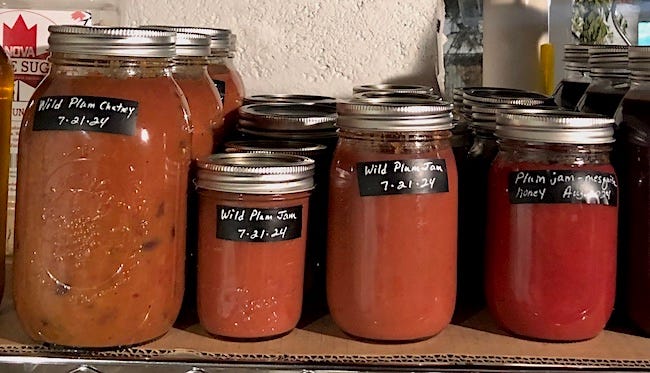
Wild plum chutney
A bumper crop from our native trees.
I have an article coming out in Missouri Conservationist next spring, and in it I extoll the many virtues of wild plum trees.
By wild, I mean native to the Midwestern US, as are Prunus americana and the other 11 varieties that grow here in Missouri. You can forage for the tart, luscious fruit in areas where gathering is allowed, but you might also think about growing these small trees in your home garden.
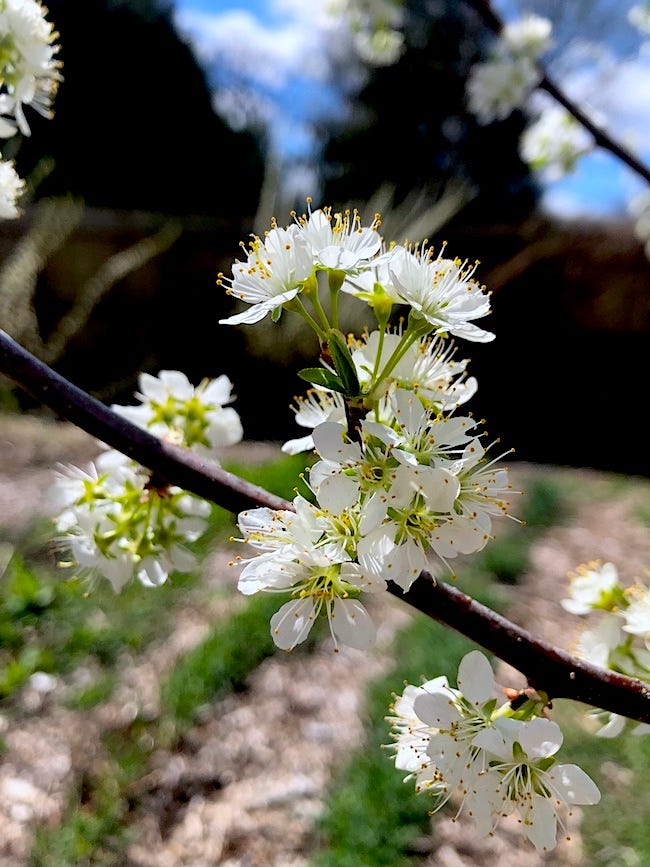
There’s a lot to be said for native plants. They:
Attract and feed pollinators and wildlife
Are well adapted to your native climate
Require very little care and feeding in return for what they provide
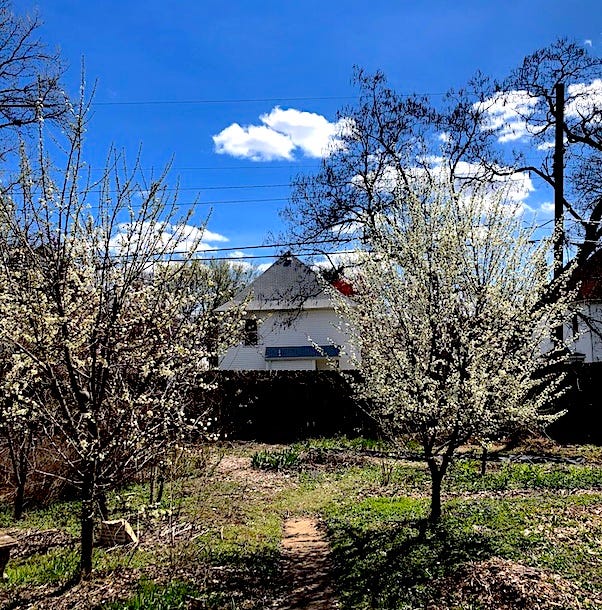
About five years ago, I purchased three seedlings from our state nursery for $1 each and stuck them in the ground with barely an afterthought except to control their thicketing tendencies by trimming any new sprouts. Today we have three beautiful plum trees that have all grown to a height of 10-15 feet. They’re highly productive trees, yielding far more than the 14 pounds of fruit we collected this year, from which we made eight pint jars of jam and four quart jars of chutney.
Now, before you go out and order seedlings, here are the caveats:
These are smallish plums, with a higher ratio of skin and pit to flesh than your typical supermarket variety
They’re a bit tarter and less sweet as well
Dull thorns adorn the trunk and branches
Can you eat them straight off the tree? I do. Are they delicious in jam and chutney? You betcha. Are the thorns a problem? Not really.
Gardening is all about weighing the cost versus the benefits. The cost of the wild plum is very low; its benefits are high. So it’s a yes for me.
By comparison, if the three cultivated pear trees I’d purchased from a not-inexpensive orchard nursery and also planted five years ago had survived instead of succumbing to blight—yes, every last one—I’d be writing to you today about pear chutney instead.
As I mentioned last year when I tried to likewise turn you onto the charms of our native sand cherries, I had planned to test a savory chutney using these plums, and I’m here to tell you it’s a winner. But don’t take my word for it—try this recipe.
For my wild plum chutney, I built on the lessons in Kate Downham’s A Year in an Off-Grid Kitchen, subject of a past Brunette Gardens giveaway. By the way, to help offset the cost of providing free recipes like this one, that book link and the others in the list below are affiliate links, so if you purchase through those, I might earn a small commission at no extra cost to you. Back to the plum chutney: Kate’s recipe served as a jumping-off point, but my version below is pretty different in that I’ve substituted wild plums for apricots, maple sugar for her suggested sweeteners, and I’ve gone heavier on the spices, as that’s how we like it. But dial back on those if you’re not so inclined.
Wild plum chutney
Ingredients
3.5 lbs (1.5 kg) pitted wild plums
20 oz (580 ml) apple cider vinegar
1 2/3 c (~200 grams) maple sugar, or more to your liking
3 medium onions of any variety, diced
1 1/3 c (~266 grams) raisins
1 tbsp ground ginger
1 tbsp ground turmeric
1 tbsp ground black pepper
1 tsp salt
2 tbsp olive oil
Equipment
2 quart-sized (4 c) mason jars with “pop” lids
Silicon or wooden spoon and ladle
Potato masher
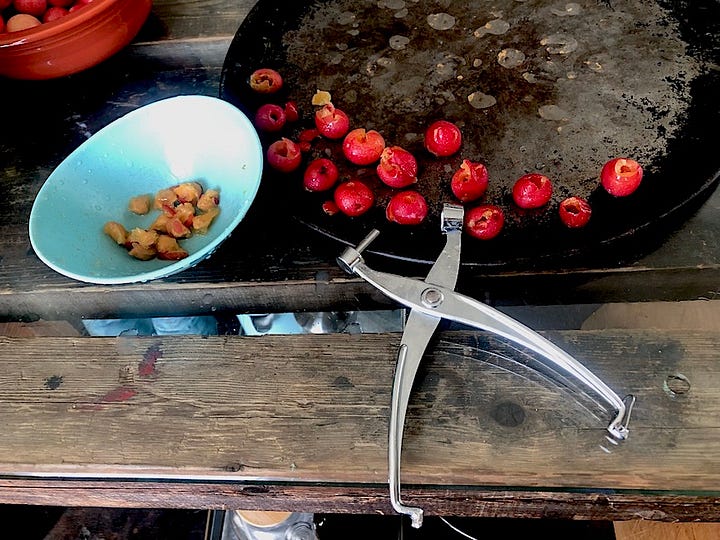
Cherry pitter (the traditional metal kind)
Steps
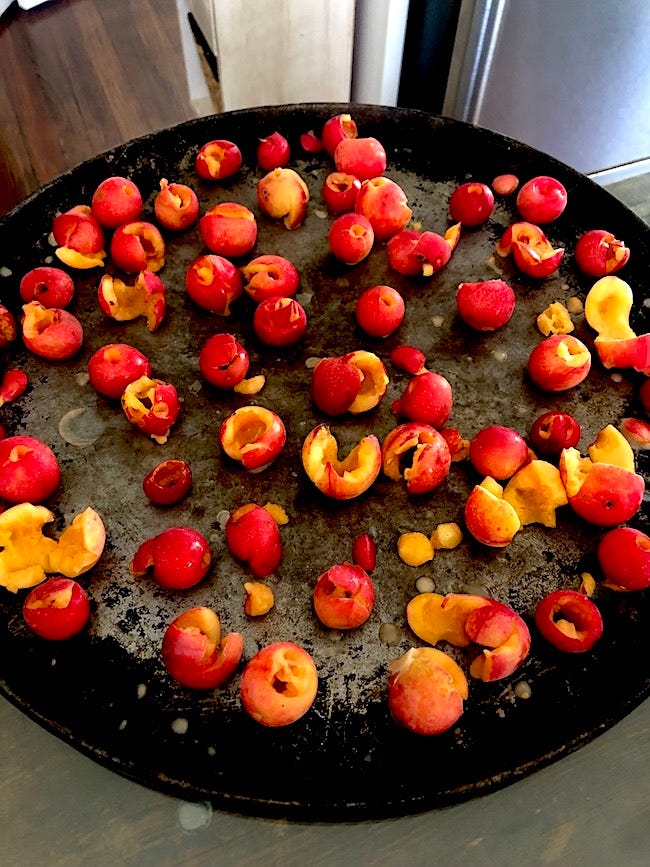
First, pit the plums with a metal cherry pitter.
Sterilize 2 quart-sized mason jars by cleaning them with 1 part hydrogen peroxide to 3 parts water and then heating them in your oven on the lowest setting (a toaster oven is a great option to save energy). Leave them in that low heat until ready to use.
Sauté the onions in olive oil in a large pot. I use stainless steel, but another great option would be enameled cast iron. Cook until translucent.
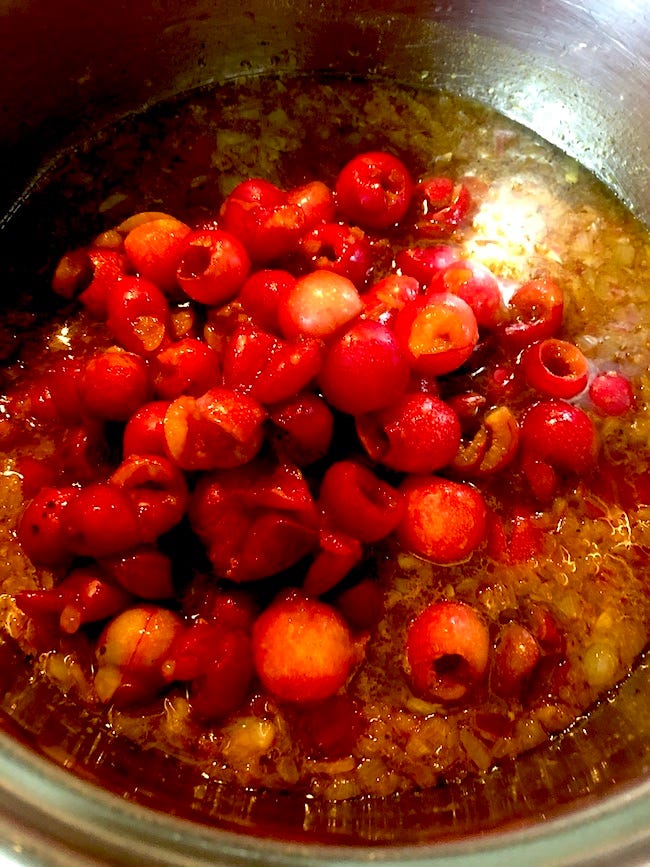
Add the other ingredients and bring to a simmer with the pot lid on.
Remove the lid and smash the plums with the masher. They don’t have to be perfectly smashed, as they’ll continue to break down as they cook.
Simmer on medium-low heat, stirring periodically. This step could take an hour or more. You’re simmering to cook this down until the natural pectins thicken it. You’d be surprised by how much it continues to gel once you place the chutney into the jars. It can be tempting to overcook it, but trust that it will gel up even if it’s a bit runny. Use the plate test: If it’s a hot day, stick a saucer in the freezer until cold, and then dollop the chutney in the middle. When it cools, drag your finger through it. If the chutney separates without running back together across the drag mark, it’s done.
Carefully ladle the hot chutney into hot jars and seal. The same rule applies here that I’ve mentioned before for water-bath canning; we don’t do it for preserves like chutney, as the heated, sterilized jars and toasty chutney made with three natural preservatives (maple sugar, vinegar, and hot, sterilized, sealable jars) take care of any potential worry for us, but please go for it if you prefer.
Set the jars on the counter to cool. No need to turn them upside-down. As they cool, you’ll hear the signature “pop” when the button depresses on its own. Label your jars with the ingredients and date before storing in a cool, dry place. We keep ours in a basement that ranges from 45-75 degrees F depending on the time of year and outside weather.
Other uses for these plums
Freeze them after pitting by placing them on a baking sheet and setting in the freezer overnight. Add them to smoothies with honey and raw goat milk.
Make plum jam using my instructions for gooseberry jam, but substituting plums. If you do this, omit vinegar.
Eat them fresh off the tree!
Feed them to your chickens.
Leave them for squirrels, chipmunks, rabbits, and other fauna to enjoy.
And finally, a printable PDF version of this recipe for paying subscribers. You can also always find our recipes in the recipe archive.
Keep reading with a 7-day free trial
Subscribe to Brunette Gardens to keep reading this post and get 7 days of free access to the full post archives.


