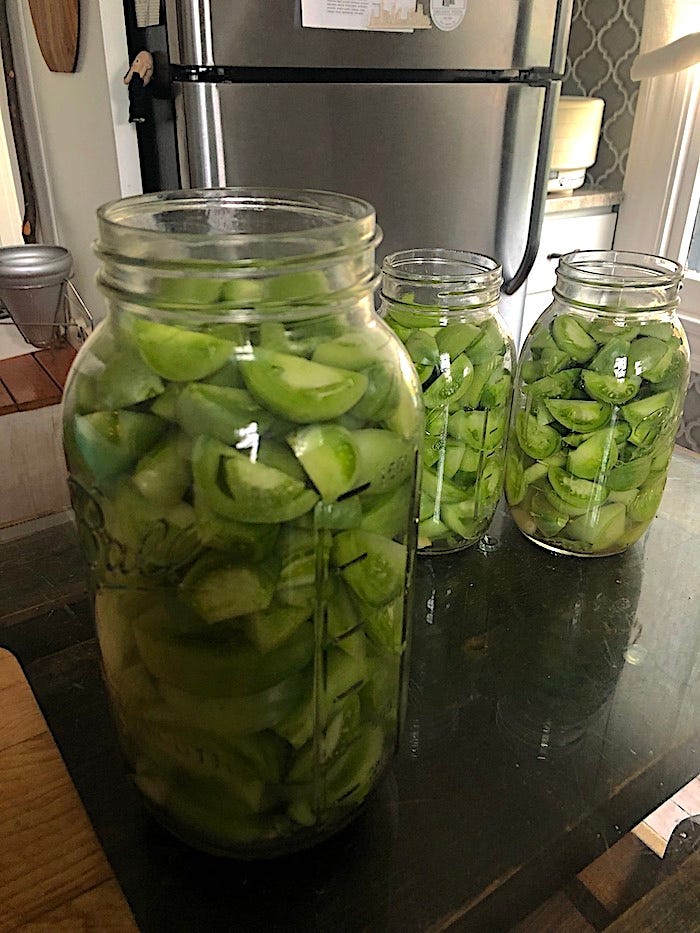
Fermented green tomatoes with garlic and basil
Plus a testimony in favor of lacto-fermented food and an exciting announcement.
Today I’m sharing my recipe for lacto-fermented green tomatoes. When I asked if there’d be interest in this in my Notes post on the subject a couple of weeks ago, you readers let me know you were keen for the green. These tomatoes are now a favorite food at our house, so I’m eager for you to try them out.
The truth is, though, I’ve been stoooopidly slow to get with the program on lacto-fermented foods. It was my husband, Anthony, and not I, who started us off. A couple of years ago, he discovered a refrigerated sauerkraut that tasted amazing, way better than that boiled and adulterated stuff you can find on supermarket shelves. It’s expensive, though, and cabbage is not, so he decided to make his own. I even bought him
’s book Fermented Vegetables1 for Christmas 2021, but neither of us read it until I picked it back up this summer.Yeah, sometimes you have to be hit on the head with something before it sinks in, and fermentation is that for me. After Anthony’s sauerkraut success, I decided to try my hand at fermenting veg myself, starting with carrots, and that’s when I got hooked. As I mentioned in “If you’re not growing carrots, you don’t know what’s up, doc”:
The carrots... how to describe this? It’s like the brine ferment makes them even more carrot-y, somehow. They’re still crisp, and the carrot flavor comes through even stronger.
We had a late-fall bumper crop of black radishes one year as well, and they were a delicious ferment. But even after all that, I didn’t really understand that lacto-fermentation could be the missing link in my quest for better gut health until this summer, when I took a deep dive.
I’d hit another wall in my ongoing attempts to manage mast-cell activation syndrome, with a return of symptoms despite medication, a very strict diet, and a mountain of supplements. I’ve now successfully ditched the supplements. I also removed from our home the remaining hygiene and cleaning products that contain manufactured free glutamates and endocrine-disrupting chemicals, triggers for mast cell. But I still had symptoms I now realize were in part a return of small intestinal bacterial overgrowth (SIBO), which often accompanies mast cell. Last time I had SIBO, it took a very expensive gut-bomb drug to get rid of it, with awful side effects.
But this time, I didn’t have to pay an arm and a leg for expensive meds and go through a month of hell to rid myself of SIBO. What conquered it was regularly eating (at nearly every meal) lacto-fermented foods.
I’m not gonna lie: It took a week and a half of what seemed like a battle going on in my gut before the good guys won.
It happened in two waves: First a weeklong bout of activity, next a reprieve when it looked like the war had been won, and then a final battle to fight off some apparent resurgence.
But now I’ve had more than a month of what I can only describe as gut bliss. I am not bloated for the first time in my life. That’s no exaggeration; I’ve been bloated constantly since I was in my 20s; I’m in my 50s now. I’ve also now lost a few pounds, which is probably just the absence of bloating. I feel mentally clearer and find myself acting… happier? Like dancing-around-in-the-early-morning happy.
All from eating the right little critters—and I’m convinced they killed off the bad ones.
What is lacto-fermentation that it has this rare power? Here’s a great description from the Weston A. Price Foundation:
Lactic acid is a natural preservative that inhibits putrefying bacteria. Starches and sugars in vegetables and fruits are converted into lactic acid by the many species of lactic-acid-producing bacteria. These lactobacilli are ubiquitous, present on the surface of all living things and especially numerous on leaves and roots of plants growing in or near the ground.
Some people like to say that God gave us everything we need to live and grow and heal here on Earth, and this is yet another example. It doesn’t involve any modern conveniences, either. On the contrary: Fermented food can keep in cold storage anywhere from a few weeks to a few months, and some might store for much longer than that.
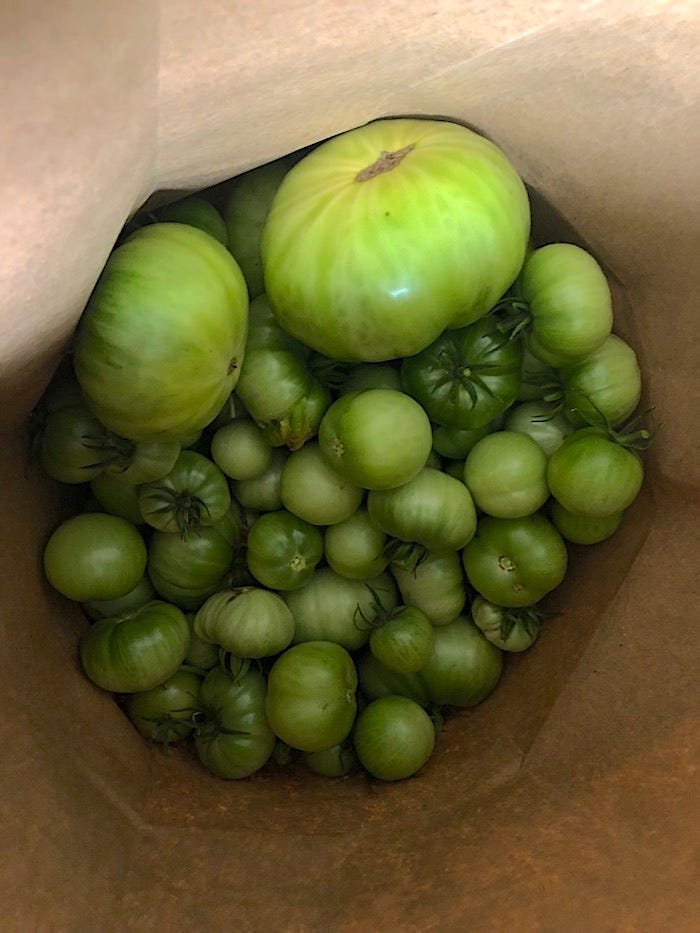
The beauty of fermented green tomatoes is that this recipe makes use of a perfectly good food a lot of people just leave to rot in their gardens. Though our tomato starts suffered from our lack of a greenhouse, once in the garden and paired with some nursery starts, they took off, and we had a beautiful tomato crop this year. They ripened on the vine all the way into late October. But we had our first frost on Halloween, and that means a ton of leftover green ones.
While ripe tomatoes are tough to ferment, the unripe, green versions stand up really well in brine, very much like a pickle and not even needing the extra care that cucumbers require.
Anthony and I adapted our fermentation approach from a variety of sources—from random websites and a couple of presentations at that Ozark Homesteading Expo to Kate Downham’s A Year in an Off-Grid Kitchen2—tweaking and modifying as we went. Once you start fermenting in earnest, you want to ferment everything… Chaco better watch out, in fact… So for these tomatoes, I had no recipe to go by (neither book mentioned on this page offers one); I just used what I’d learned. They turned out spectacular and make the perfect side dish to breakfast eggs and other meals. The basil and garlic flavor the tomatoes, but you can eat those, too.
Fermented green tomato pickles
Ingredients
Enough green tomatoes to fill a quart-sized jar, once washed, the stems removed, and sliced into wedges, with the blossom tops and ends removed
A sprig of fresh basil, or oregano if the basil’s done for the year
2-4 cloves of garlic, depending on size and your level of garlic appreciation
(Optional) A few tannic leaves, such as grape, horseradish, or oak
5 TB good quality salt, such as this pink Himalayan3, which is what we use
A quart-sized (about 1 liter) glass mason jar with a lid4
A weight for the top, such as a jar that just fits into the above jar, or a water-filled bag, or these amazing soda-glass weights5
Distilled or filtered water
(Optional) Pickle pipe6, to vent the fermentation gases
(Optional) Just get this life-changing fermentation kit7
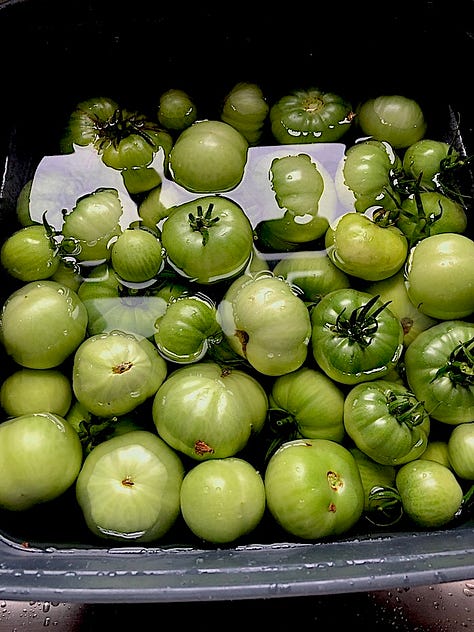
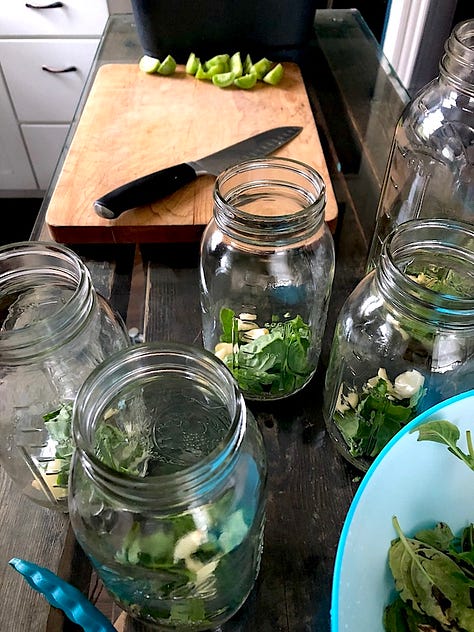
Mix a brine solution of 4 cups (950 ml) of water and 5 TB (75 ml) salt in a measuring cup. It helps if the cup has a pour spout. If you have 1 TB (15 ml) of sauerkraut juice from previous ferments, you can include that, but it’s OK if you don’t.
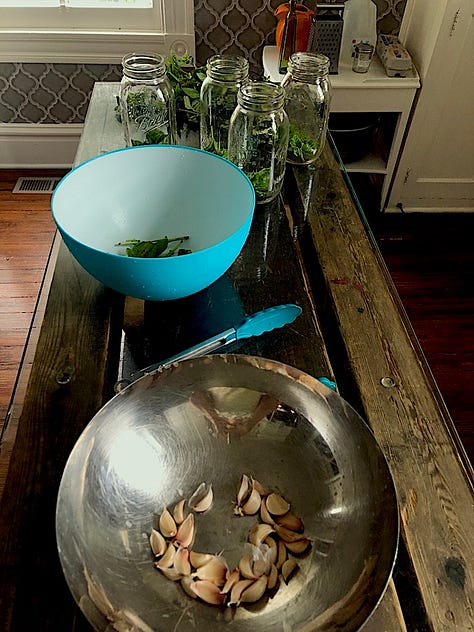
Peel the garlic. If you’re doing a large batch of these, you can place the cloves in a bowl and pour water from a hot teakettle over them. Let them sit for a bit, long enough for the water to cool off for your touch, and then the garlic easily peels.
Place the garlic and basil (or oregano) sprig into the bottom of the jar. I’ve done both basil and oregano, and they yield different but equally good flavors.
Fill the jar with the sliced tomatoes, tamping them down with your hands or a tamper (the above kit comes with a really good one). You don’t have to be as aggressive with this as you might be for sauerkraut, though, as you’re not using the tomatoes alone to create brine. Rather, you’re going to pour your brine solution over them. But you do want the tomatoes to fit tightly into the jar, up to the jar’s shoulders. This helps them stay below the brine instead of floating to the top.
Pour the brine solution over the top. If you have extra brine, you can keep it up to a week in the fridge for other projects.
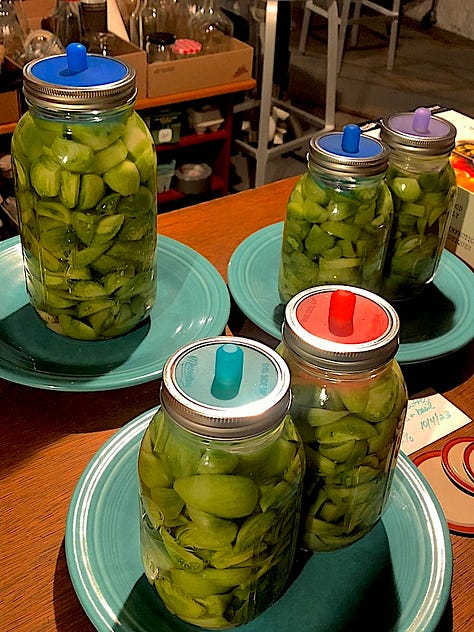
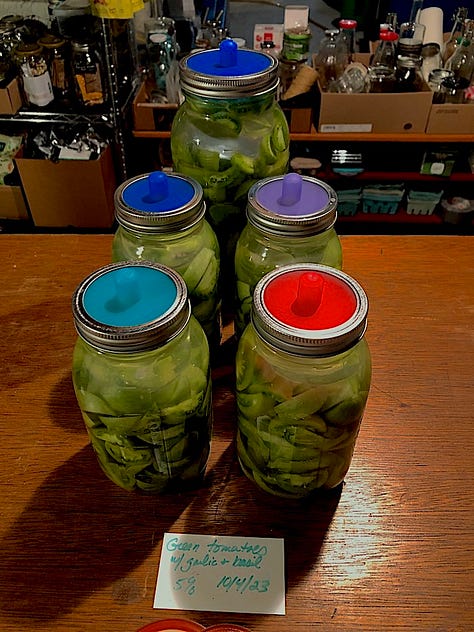
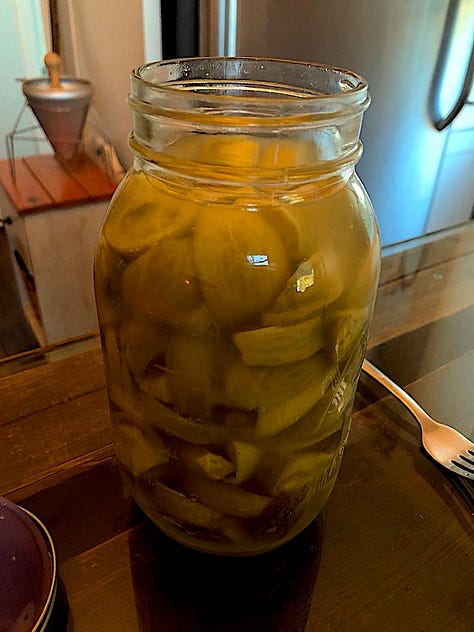
Two fermentation batches and a finished ferment. You can see the color leaches out a bit, but that's OK; it's all about the taste. Place a few of the tannic leaves over the top, tucking them over the tomatoes and under the jar’s shoulders. These help the tomatoes remain crisp and stay below the brine, but if you don’t have them, it’s OK.
Weight the top of the mix in the jar with another jar that just fits inside the mouth of that one, a water-filled plastic bag, or a weight. Caveat: I always struggled with plastic bags, as they inevitably were the wrong size/shape and would flop over and out of the jar. I also don’t like using plastic bags because of the forever-plastics problem. I swear by the Masontops kit.
If you’re using pickle pipes, those go on top with the jar lid ring secured around them. If you’re using another jar or a bag to weight down the tomatoes, you won’t need a pipe vent, as the gases escape around the jar or bag.
Place the jar of tomatoes where they can ferment in a temperature consistently in the 55-65°F range (12-18°C). It’s a good idea to set them on a plate as I have in the images below, as they can burp and even spit a bit of brine!
Check them in one week to see if you like the taste. I’ve let them go two weeks for delicious, briny pickles. When you’re ready to stop, remove the weight and pipe, replace the regular lid, and put them in the fridge or into long-term cold storage (55°F/12°C). Note some guidelines are based on modern conventions of thought and solely direct you to refrigerated storage, though our ancestors did not have that luxury. Keep in mind, however, that many basements are heated a bit to keep water pipes from freezing and might not be cool enough year-round for stored ferments.
Spring 2024 giveaway sneak-peek
I’m excited to announce that the aforementioned
of here on Substack will be our giveaway host next spring. Fermented Vegetables, her classic book that I should have read far earlier than I did, is now in pre-order with a newly updated anniversary edition, releasing April 2024. We’ll be giving away a copy to one of our lucky paid subscribers.Share your fermentation journey
I’ve been open about my story with you here, and I’d love to hear yours. Anyone else take this path to better gut health? What have been your experiences?
For paid subscribers, here’s a printable PDF version of the above recipe:
Keep reading with a 7-day free trial
Subscribe to Brunette Gardens to keep reading this post and get 7 days of free access to the full post archives.


