Squash tunnel vision
The build... and epic conclusion of a mighty arch.
By Anthony Valterra
My father is a very handy man. He’s the type of guy who sees a brick patio and thinks, “I could do that.” And then he figures out how to do it. And then actually does it. And it looks awesome. As his son, it is both heartening to see what can be done and discouraging when you see how often your attempts at doing something awesome falls short. But as my grandfather used to say, “It’s good enuf fer who it’s fer.” It took me years to translate that from his Oklahoma twang to my more prosaic American standard into, “It is good enough for whom it is for.” I always liked Grandpa’s attitude towards life.
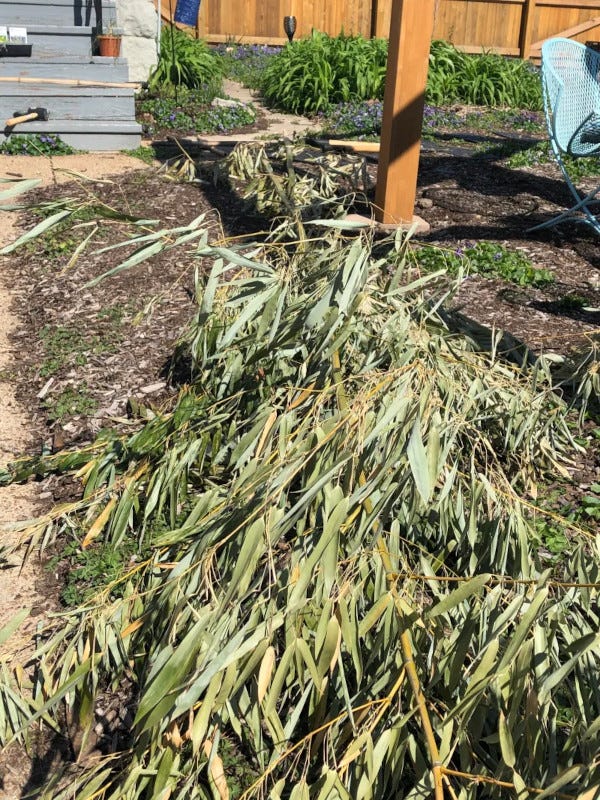
So, it is with this familial background that I announced with a casual and cavalier attitude that I would build a squash tunnel. With a limited budget, and a DIY attitude, we decided to forego purchasing in favor of building. Lisa and I were out for a walk, and we passed by one of our neighbors, who has a large grove of bamboo growing on the side of his property. Bamboo grows really fast. So, he has to cut it back a couple of times a year. He just has the city come and pick it up as yard waste. We'd already snagged a few of his excess bamboo canes previously, using them as tree stakes. And then the light went on—bamboo is great building material! He has all kinds of lengths and thicknesses. Well, talk about your win-win. He was thrilled to have us haul away all of his bamboo, and we got free building material.
You need close to 30 canes to do this right. Any leftovers can be repurposed as garden stakes.
Now, all I had to do was figure out how to build a squash tunnel using bamboo. No biggie, right? Here is what I came up with.
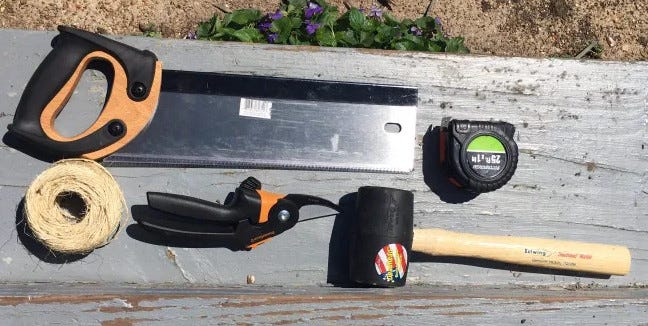
First things first—what tools and supplies did I need? Well, other than the bamboo itself, this is literally all I needed.
Saw, tape measure, twine, hand cutters, and a rubber mallet.
So the arch, all total, can be had for the cost of twine, provided you get the bamboo for free and already have these tools. Now here’s how I built it.
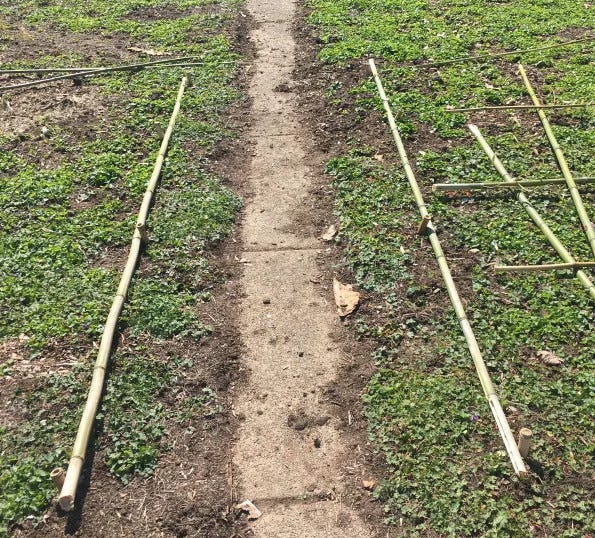
I laid out two bamboo rods that were going to be my base supports to get an idea on the length of the tunnel.
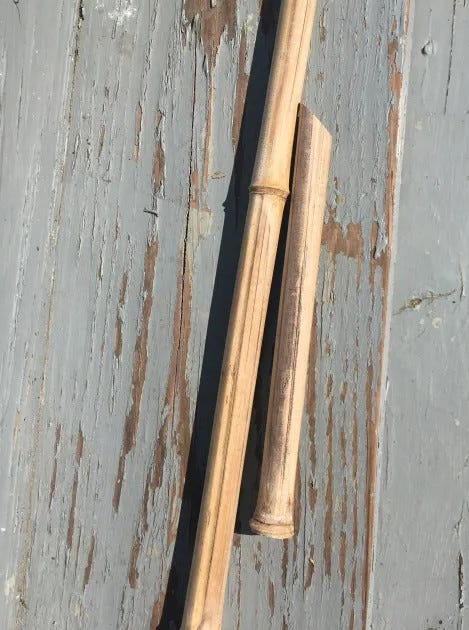
I then cut 6 pieces of bamboo into one-foot lengths, with a sharp 45-degree cut.
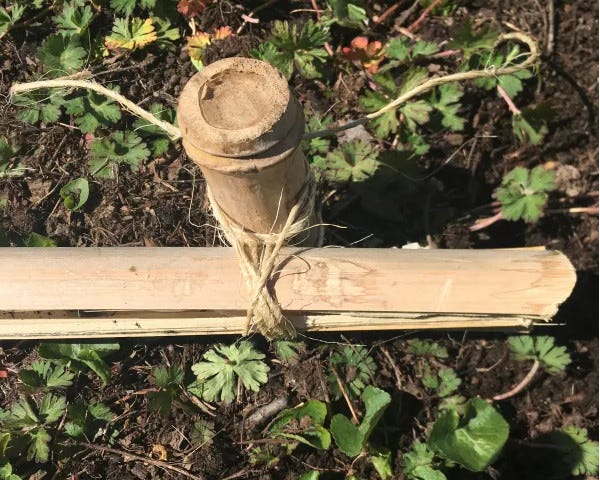
These were going to become my stakes. They were surprisingly easy to drive into the ground. Using my hand and bodyweight, I could push them 6” into the ground and then use the rubber mallet to drive them down until about 2-3” stuck up above the ground. I then lashed the base supports to the stakes with twine.
Then I cut the side vertical supports the same way I cut the stakes—with a 45-degree end. This allowed me to drive them into the ground using just my bodyweight next to the stakes.
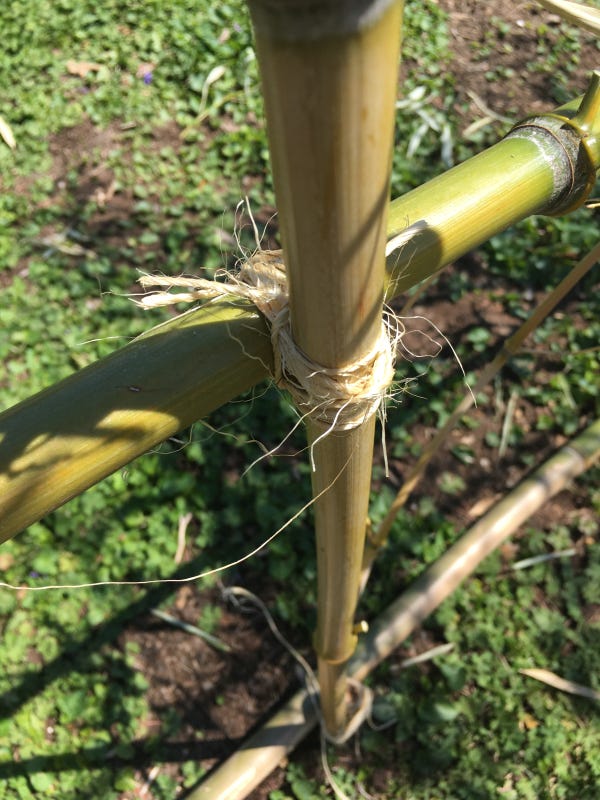
Once the vertical supports were in place, they were strengthened with horizontal supports on each side, which was lashed to the standing vertical support.
Here you can see the vertical support driven into the ground and tied to the stake at the bottom and the horizontal support lashed to higher up.
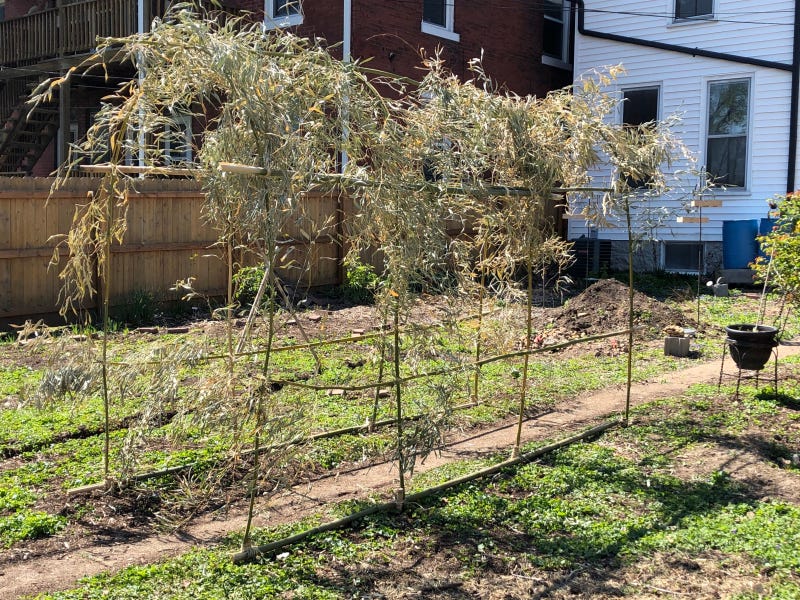
All that was left to do was to bend the vertical support bamboo to form the arch and tie them together. If there is a place where this falls apart, it is here. I wish I had started this project as soon as I had the bamboo when it was still green and very supple. But I waited a few days and the bamboo had begun to dry out and become more brittle. It still bent, but I think it might have been more likely to break.
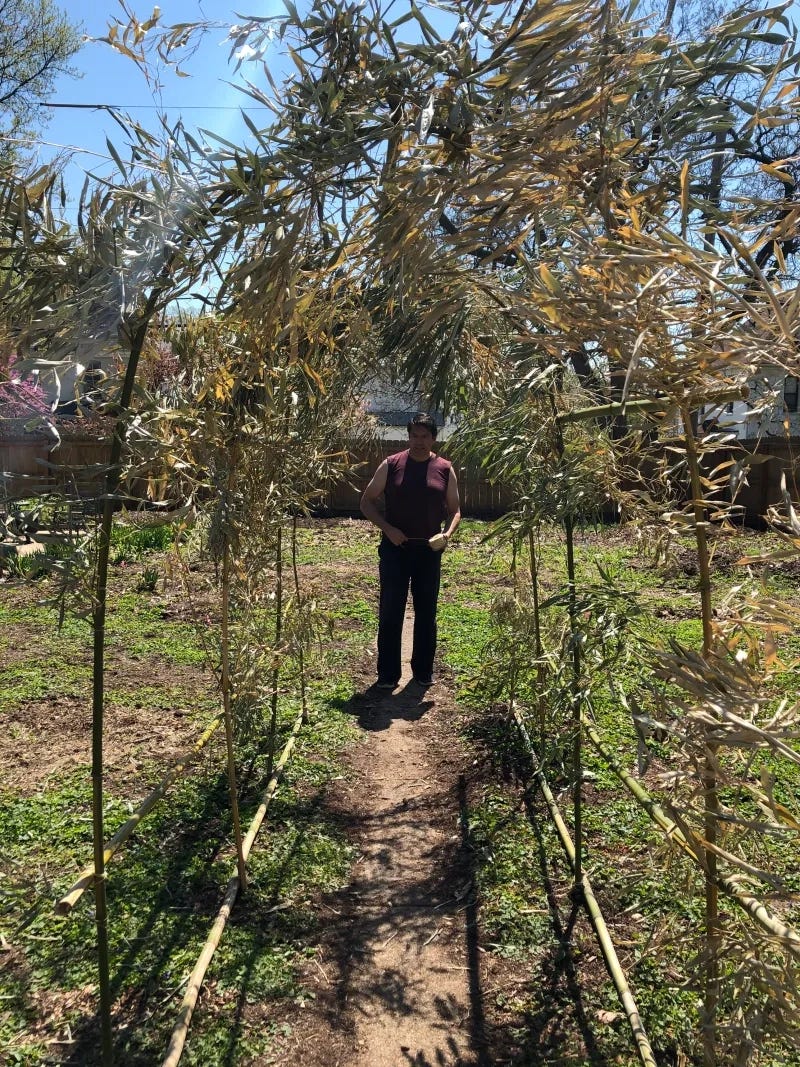
The full arch. I put another horizontal brace at the very top where the two sides of the arch meet for more support. We chose to leave some of the leaves on because we thought they looked nice. We thought as the bamboo dried, they would just fall off or get stolen by birds for their nests. The real question was... will the arch support our squash? That was unknown when we built the thing.
We figured it would either collapse from the weight of the plants on it, get blown away in a storm, or remain standing and provide some lovely images. If you are a paid subscriber, you’ll find out which scenario played out below.


