Chewing the fat... about fat
How to render your own. Plus, a bonus recipe!
First of all, why render fat? Well, fat is a substance that the human body is accustomed to absorbing. In fact, if you take in too little fat, it can have numerous deleterious effects on your health. It can lower your hormonal levels, make your skin dry, encourage you to overeat, mess with your body’s natural temperature regulator, and cause mental fatigue. Now, that does not mean you have to eat animal fat. But if you are a meat eater anyway, it is certainly one of the easiest ways to make sure you are getting enough fat in your diet.
Rendered fat is fat that has been heated so that it melts to the point where it’s easy to separate the usable liquid fat from the proteins and other “waste” materials (although those materials don’t need to go to waste—more on that later). If you are rendering pork, the rendered fat is called “lard,” and if you are rendering beef, the result is called “tallow.” The process is the same, but just for clarity’s sake, we are going to be talking about rendering tallow.
Tallow makes a fantastic frying-pan lubricant for cooking just about anything. It also is great for providing a bit of flavor and helping the cooking process in a slow cooker, or “Crock-Pot” (which is a brand name, and we actually use one of those). You can bake with the rendered fat, season your iron skillets with it, and even make candles. It is high in vitamins A, D, K, and E and can be stored on a cool, dry shelf (refrigeration is not necessary although in the summer months when every place in the house is hot, we will toss our tallow into the back of the fridge).
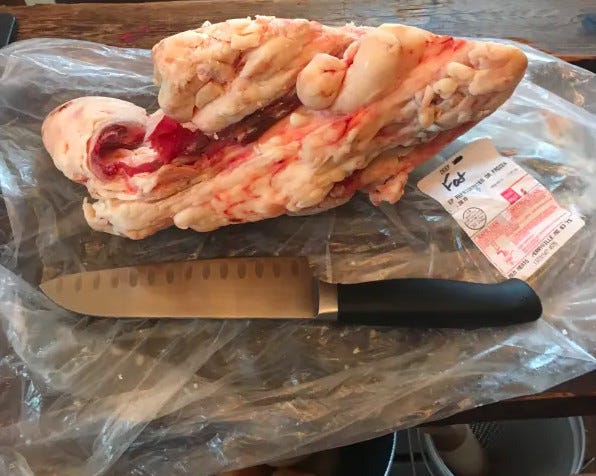
The first thing you need is a large chunk of cow fat. We buy organic, grass-fed beef in 1/4-cow quantities from a local rancher. When we make that purchase, the rancher throws in the fat for free. But we go through the fat faster than we go through the beef, so we end up buying single bags of fat separately between beef orders.
Pictured above is the last one-fifth of a $28 purchase, the last round of rendering we did from this chunk of fat.
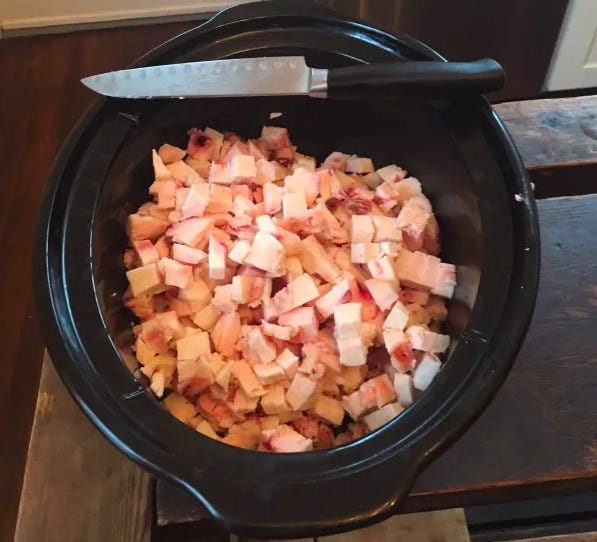
As you can see, the fat comes in a large mass. It can’t be rendered in this state, as the liquid fat needs to be able to pass easily through the fiber and protein holding it together. In a perfect world, if I had a meat grinder, I’d first grind the fat and then render it. But I am still looking for a good cast iron hand-cranked grinder, so until then, I just dice the fat into small cubes.
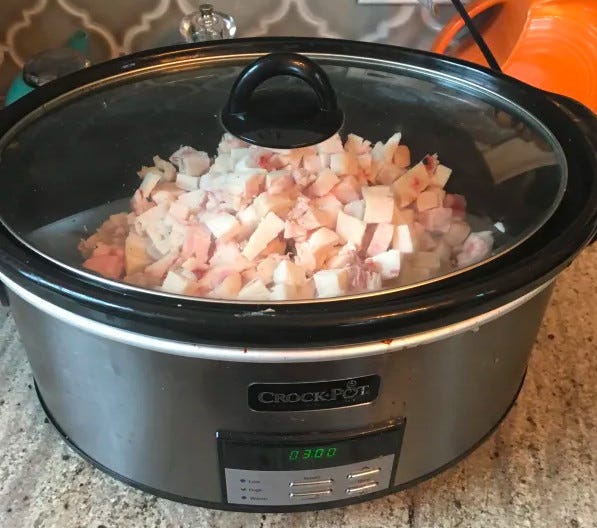
Our Crock-Pot holds five gallons, and I typically render about 3 or 4 cups of fat in a batch. I suppose you could render more, but the process of getting the fat out of the Crock-Pot is tricky enough with this amount. More would be a bit too much of a process for me.
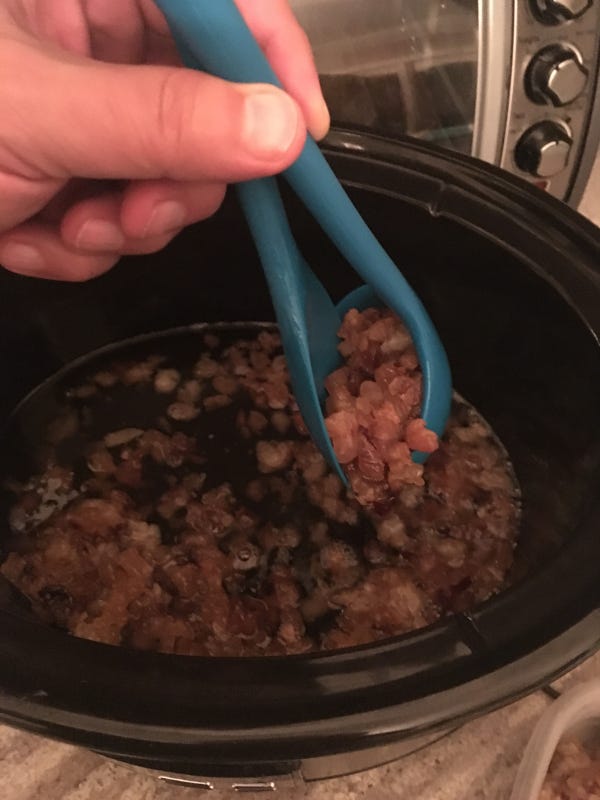
Here is the Crock-Pot full and ready to go. I don’t put anything into the Crock-Pot with the fat. I’ve seen some sources that recommend a bit of water, but I have not found that to be necessary.
I start the Crock-Pot on high and set the timer for about two hours, but in reality, I check the pot about every 30 minutes and give the fat a quick stir with a silicone spoon that can handle high heat. This will be the first of a number of warnings that fat can get really hot and is very slippery! Those are two of its wonderful qualities. You can cook at a very high heat with tallow or lard, and it will smoke very little, and it creates a great non-stick surface. However, those qualities can make it exceptionally dangerous to work with. So be very careful that you have heat barriers and that you handle everything like you would a slick water eel.
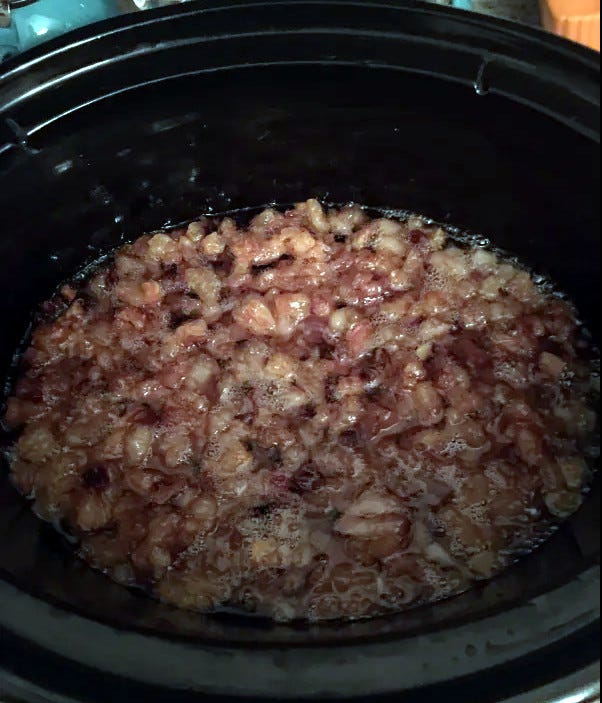
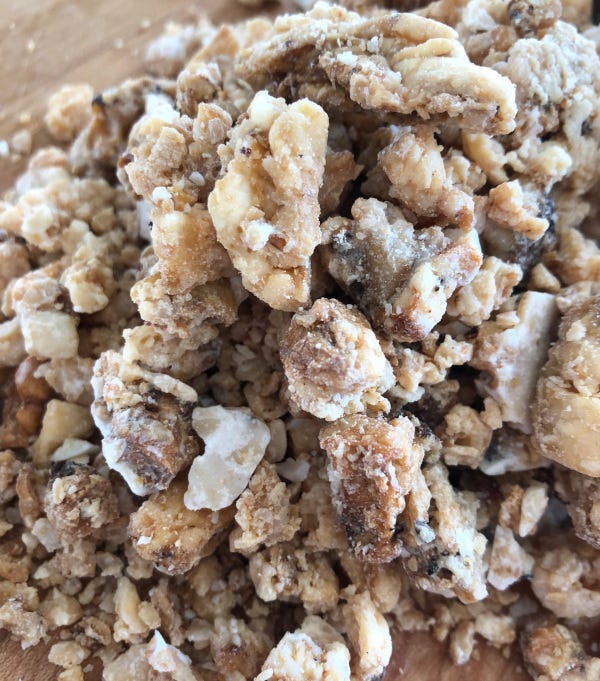
Once the fat has given up some of its liquid, and you can see it in the bottom of the Crock-Pot, you can turn the heat to low. Now you can check on it about every hour. You are waiting for it to separate into two distinct parts. First the clear liquid—that is the tallow; second, the brown, crinkly remains—that is what we are going to call “the crackling.” Once the crackling is uniformly shrunken and brown, you have probably pulled as much tallow out of it as you can. Turn off the Crock-Pot and unplug it. Now comes the tricky part.
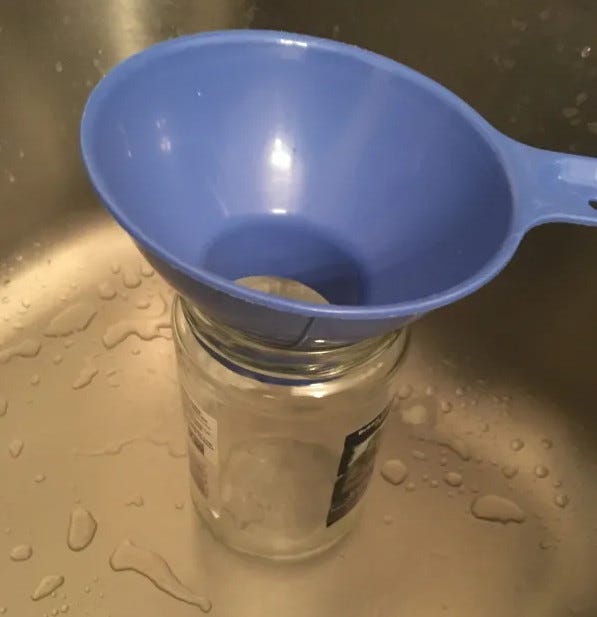
You’ll need a jar that you can seal, and I highly recommend a heat-safe funnel. To be very safe, I recommend that you put the jar with the funnel into the sink and have the Crock-Pot next to the edge of the sink. Everything is very hot and very slippery. The Crock-Pot, tallow, the crackling, and the jar itself will be hot and coated in fat. Using a heat-safe ladle, ladle the crackling out of the Crock-Pot and into a heat-safe container, leaving the liquid tallow behind. I use a second spoon to squeeze the crackling to get as much tallow out of the crackling as I can.
Once you have emptied as much of the crackling out of the slow cooker as you can safely manage, you can start ladling the remaining liquid into the jar. I can get the vast majority of crackling out of the Crock-Pot, so it is fairly easy for me to get just liquid into the jar with no tiny floaters of crackling. But in the end, you will likely need to use a cheesecloth over the funnel so that you can get the last of the liquid separated and into the jar.
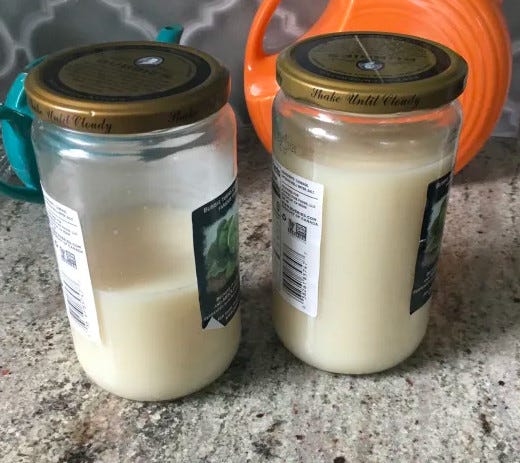
Be super careful. Have I mentioned how hot and slippery fat can get? If you knock over the jar, don’t try to grab it. Just let it be, and take the loss. No use getting burnt over spilt tallow. Don’t splash cold water on the jar—it will likely break from the temperature change. Carefully put the lid on the jar (not real tight, as the fat is cooling and will cause a suction) and use oven mitts or other protection. Everything will be very slippery—the jars, the slow cooker, your utensils, the funnel, likely the counter that everything it’s sitting on. Once it cools, it looks like the tallow you can buy in jars at the store. Here’s ours, this time in repurposed sauerkraut jars.
This is what we got from about $6 worth of fat: one 25-ounce jar full and another half full. Call it 37 ounces. On the open market (or Amazon in this case), beef tallow for consumption goes for about 71 cents per ounce, so for $6, we made about $26.27 worth of tallow. Not bad. And what about those cracklings?
You can make a delicious desert/coffee-cake style food called a “Cree Cake” (cree is another word for crackling). The recipe for Cree Cake is ridiculously easy. It is a 2/3/4 recipe.
2 parts sugar
3 parts crackling
4 parts flour
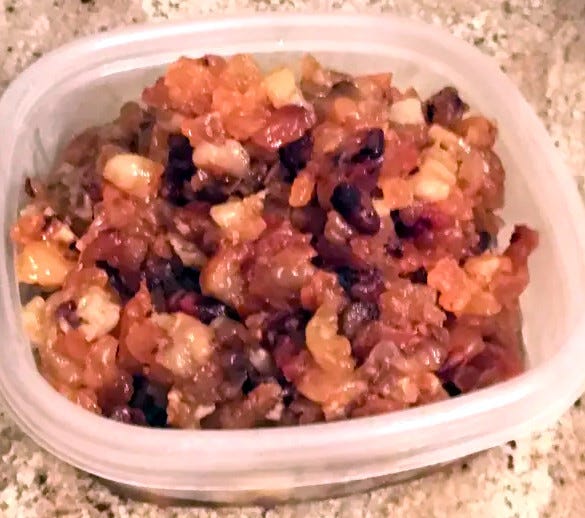
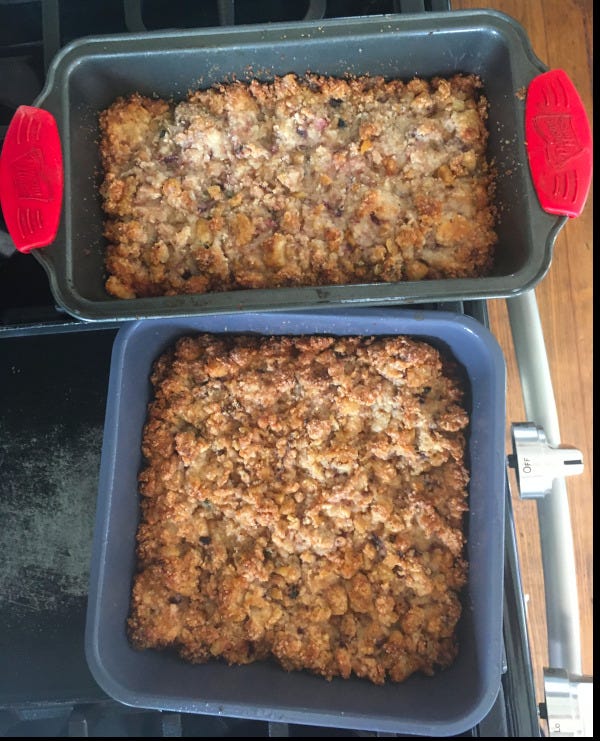
So, for example, I made the below cake using one cup sugar, 1.5 cups crackling, and 2 cups flour.
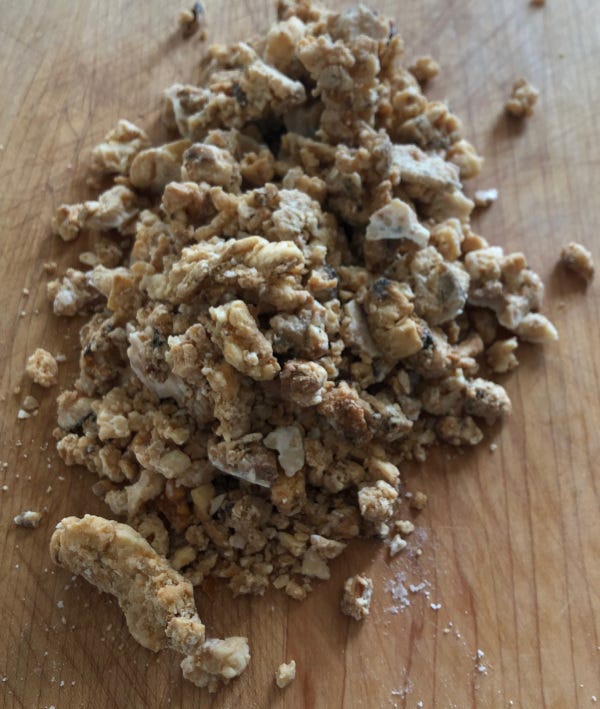
Go through the crackling and pick out any black pieces. They will be too hard to chew.
Chop the crackling until it is fairly fine. This is a bit to preference. I take my down to about split-pea size.
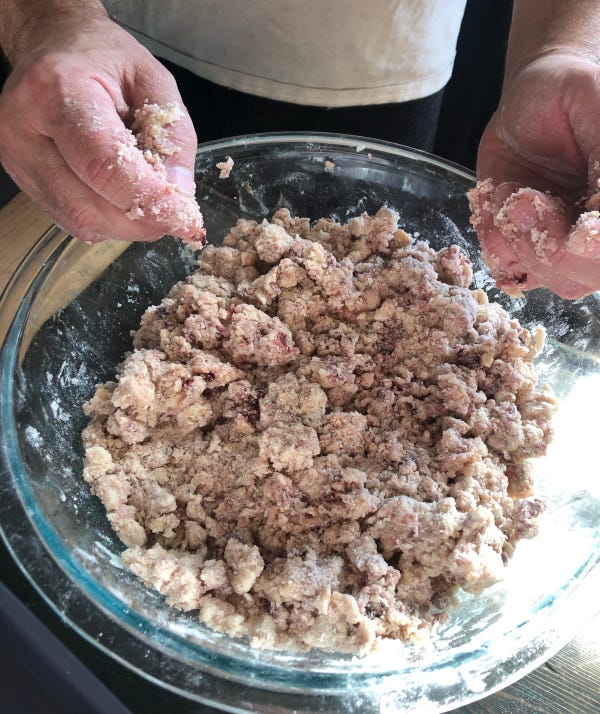
Mix all three ingredients in a large bowl. Add raisins, cherries, or other dried fruit if desired.
Add milk or water until you have a sticky but rough dough
Pop into a greased and floured pan. Make the dough 3/4-inch thick if you want crispy, cookie-like cake and 1.5 inches if you want a more coffee-cake style cake.
Bake at about 350 degrees F° for 30-40 minutes until the top is golden brown.
The cakes are delicious and filling. Have them in the morning with coffee or after a meal as dessert.
A version of this article first appeared on our former Typepad blog. This post contains affiliate links.
Here’s a printable PDF for paid subscribers.


